A fresh coat of paint can transform any room, but the finish is only as good as the prep. Here is the professional wall-prep process we use for smooth, durable, pro-level results.
A fresh coat of paint can transform any room, but the finish is only as good as the prep. Skipping proper preparation leads to peeling, visible patches, roller tracks, and uneven sheen that show up the moment the paint dries. The good news: with the right steps and a little patience, you can achieve a smooth, durable, pro-level finish. Below is the wall-prep process we use at JM Painting Services.
Inspect the walls like a pro
Before anything else, read the surface:
- Moisture: look for stains, bubbling, or a musty odor. Fix leaks first — paint won’t adhere to damp surfaces.
- Gloss: shiny, slick, or oil-painted walls need scuff-sanding or a bonding primer.
- Stains and odors: water, smoke, marker, and crayon telegraph through paint without a true stain blocker.
- Movement cracks: recurring cracks at corners or seams may need tape and compound, not just spackle.
Clear, protect, and clean
Remove wall decor, switch plates, and outlet covers, and pull furniture to the center under drop cloths. Then clean thoroughly — vacuum the walls, degrease high-touch areas like kitchens, and treat any mildew with a bleach solution (1 cup per gallon of water), rinsing and drying completely. Painting over dust, grease, or gloss is the number-one cause of early failure.
Repair, sand, and caulk
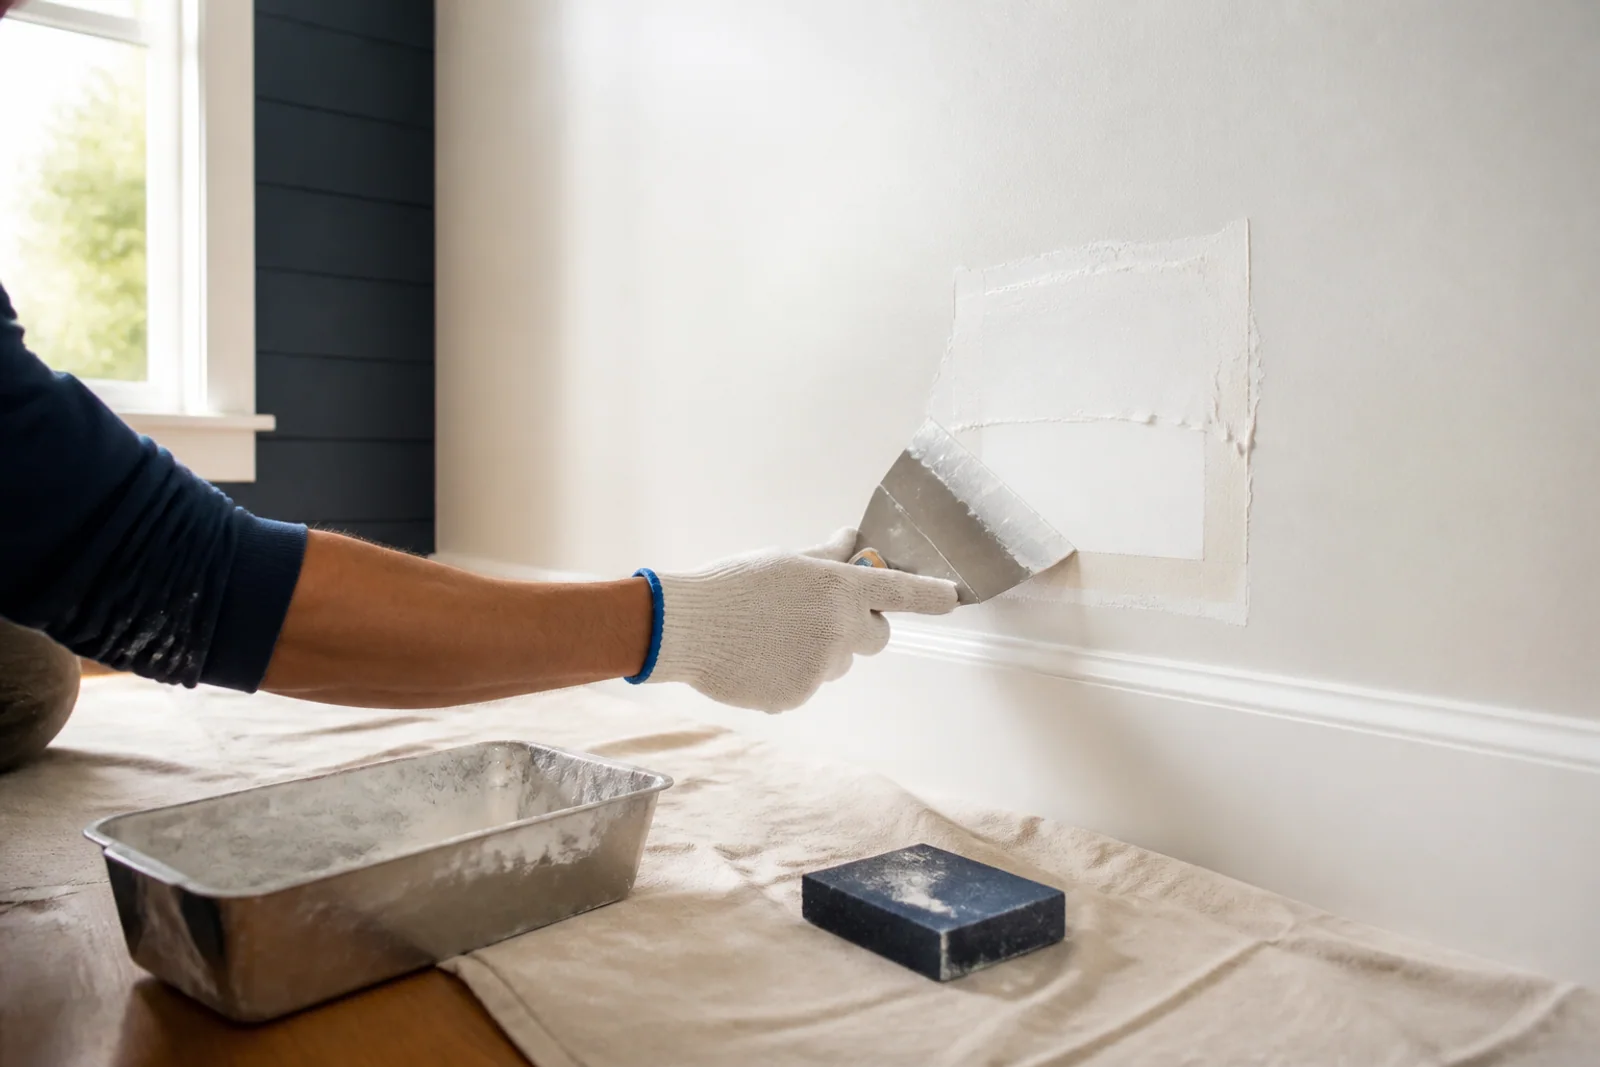
Fill nail pops and small holes with spackle; use a setting-type compound for deeper repairs. For cracks at seams, widen slightly to a shallow “V,” embed tape, and feather two to three thin coats of compound. Sand patched areas from 150–180 up to 180–220 grit, feathering edges 8–12 inches into the surrounding wall. Finish by running a thin bead of paintable, siliconized acrylic caulk along trim, baseboards, and casings.
Pro tip: use a raking light held close to the wall at a low angle to reveal imperfections as you work.
Prime strategically
Match the primer to the surface:
- New drywall or large repairs: a PVA drywall primer to seal and prevent flashing.
- Glossy or hard-to-paint surfaces: a high-adhesion bonding primer.
- Stains and odors: spot-prime with a shellac or oil-based stain blocker.
- Bathrooms and kitchens: a moisture- and mildew-resistant primer.
Why prep pays off
Proper prep makes paint glide on, improves adhesion, hides past repairs, and delivers a uniform sheen — while extending the life of your paint job. If you’d rather skip the mess, our team handles everything from dust containment and repairs to expert priming and topcoat application. Call 856-389-2119 for a free, no-pressure estimate.
Want it done for you?
Get a free, no-pressure estimate from JM Painting Services.